before and after
For this project, I took to Photoshop and Lightroom to transform photographs and show how alterations can change the entire image. The photos I used were photographs I've taken over the past year of trips I've taken, my friends, and places I've been. I altered the photos either to create an entire different feeling in the images, or to depict a stronger and more interesting story.
BEFORE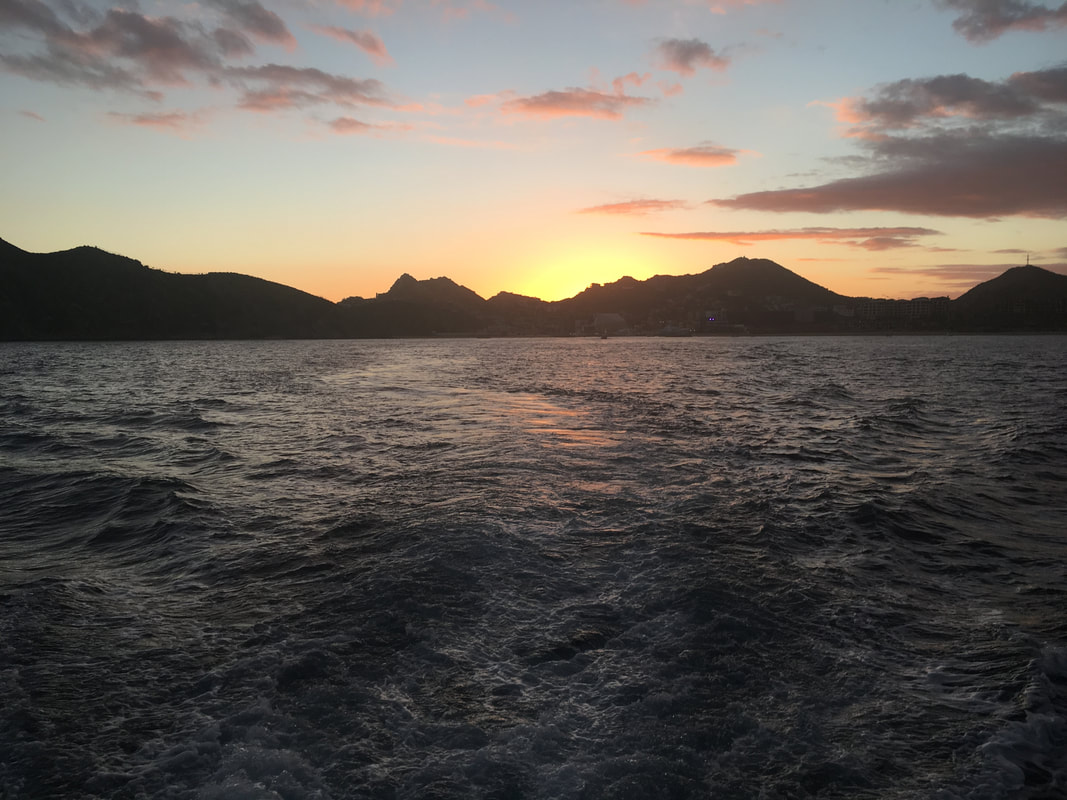
|
AFTER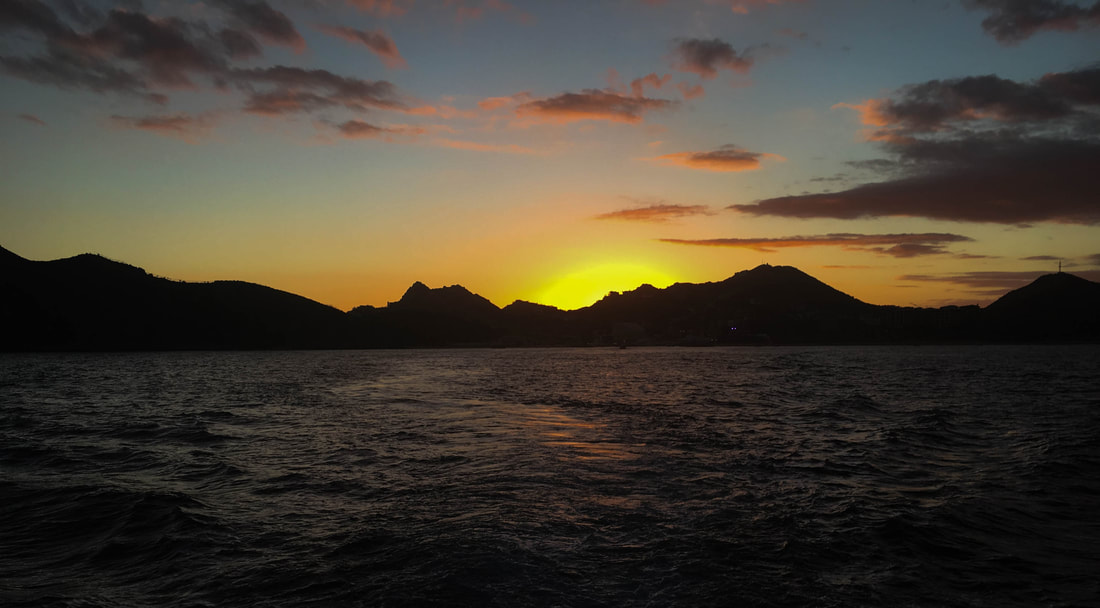
|
I used Lightroom to alter this photo. The original photo I had loved before had, but thought it didn't really capture the intensity the real sunset had that night. In Lightroom, I increased the contrast immensely. Then, I decreased the highlights. After I finished these actions, I decided that I didn't like how the ocean took up so much of the photo, and decided to crop it so that the sky and the ocean each covered about half of the photograph, and the mountains laid in the center.
BEFORE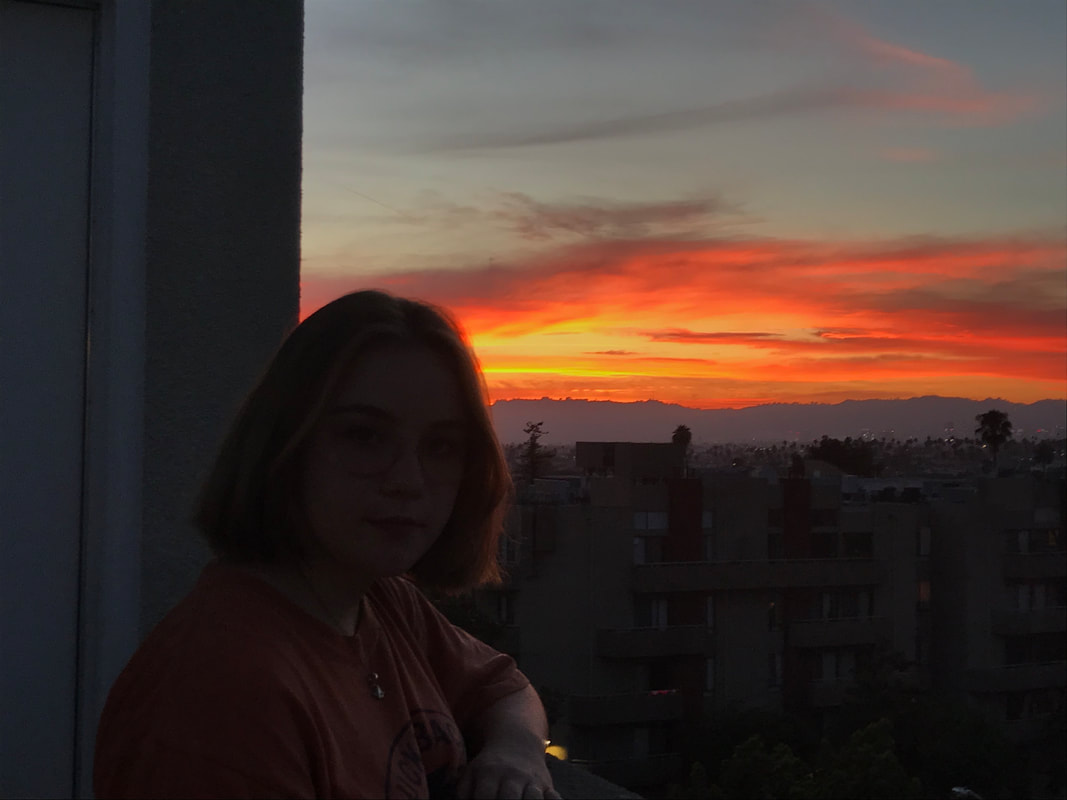
|
AFTER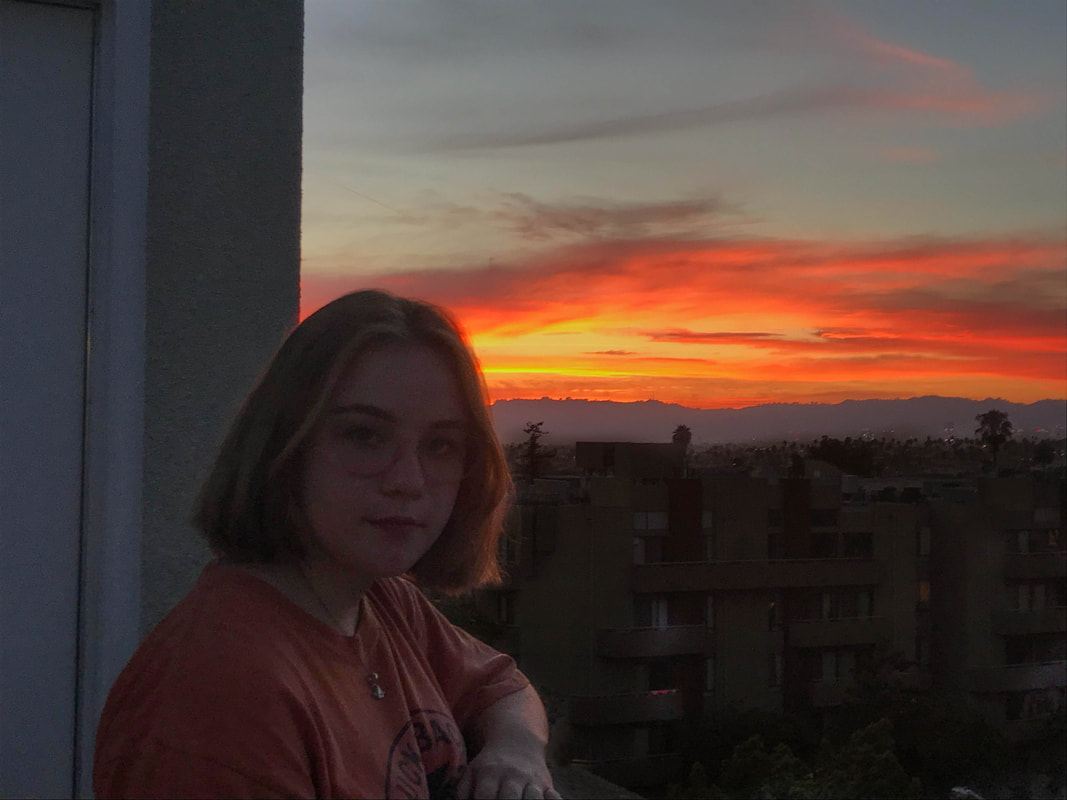
|
For this image, I used Photoshop and Lightroom. My original plan as to only take this photo to Lightroom and brighten it up so that the person in the photo, Kain, was visible. I did this by heavily increasing the shadows. The buildings in the background brightened up as well, so I used the brush stroke tool a turned up the exposure, contrast, and shadows so that the only two focal points of this photo would be Kain and the sunset. After finishing this though, I noticed the bright light next to Kain's hand. Unable to remove this dot on Lightroom, I moved to Photoshop and used the Clone Stamp tool to move the dot, the same tool to make her hand look natural again, and the blur look to make sure the new change in her hand and the background still blended in.
BEFORE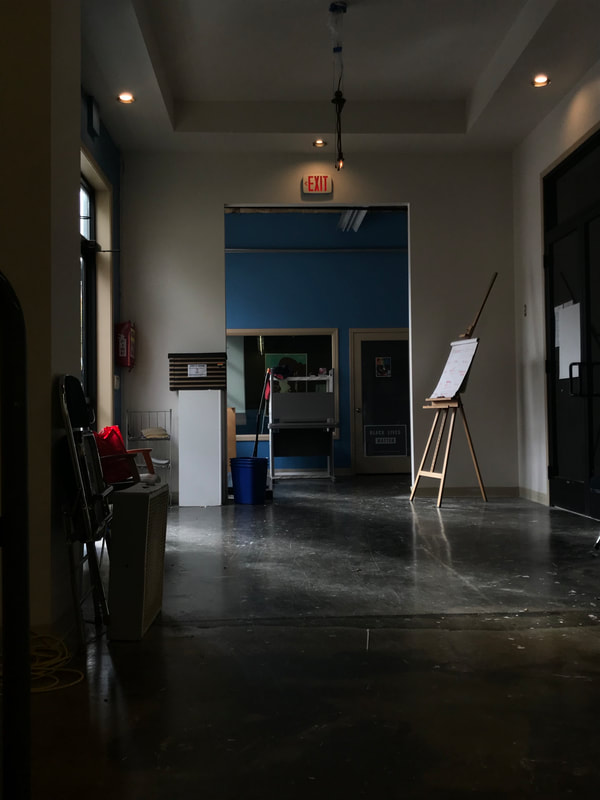
|
AFTER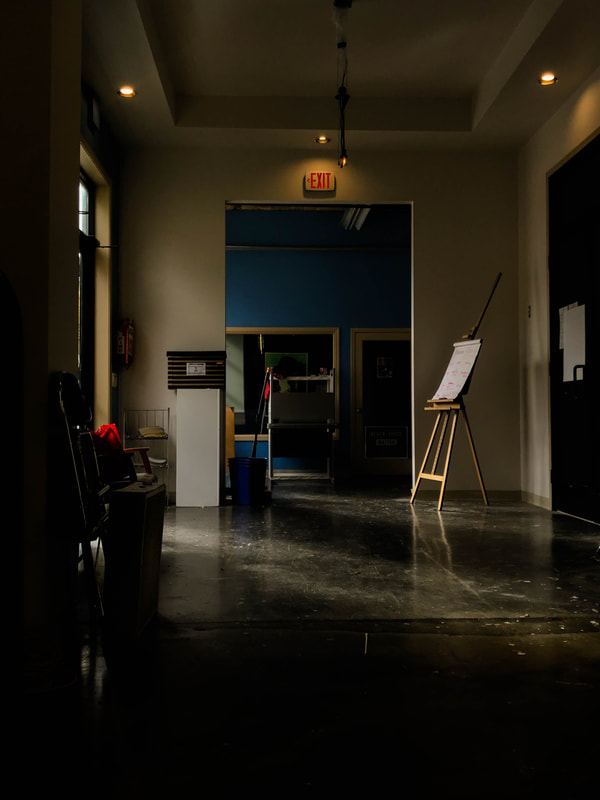
|
This photo I took at the place I volunteer when it was completely empty early in the morning. I took the photo because I felt it expressed an emotion I couldn't quite place, and I decided to take the photo to Lightroom to see if I could bring out that emotion more heavily. In editing this photo, I decreased the temperature, shadows, and highlights. After doing this, I made more adjustments in the contrast, the black clipping, and the white clipping.
BEFORE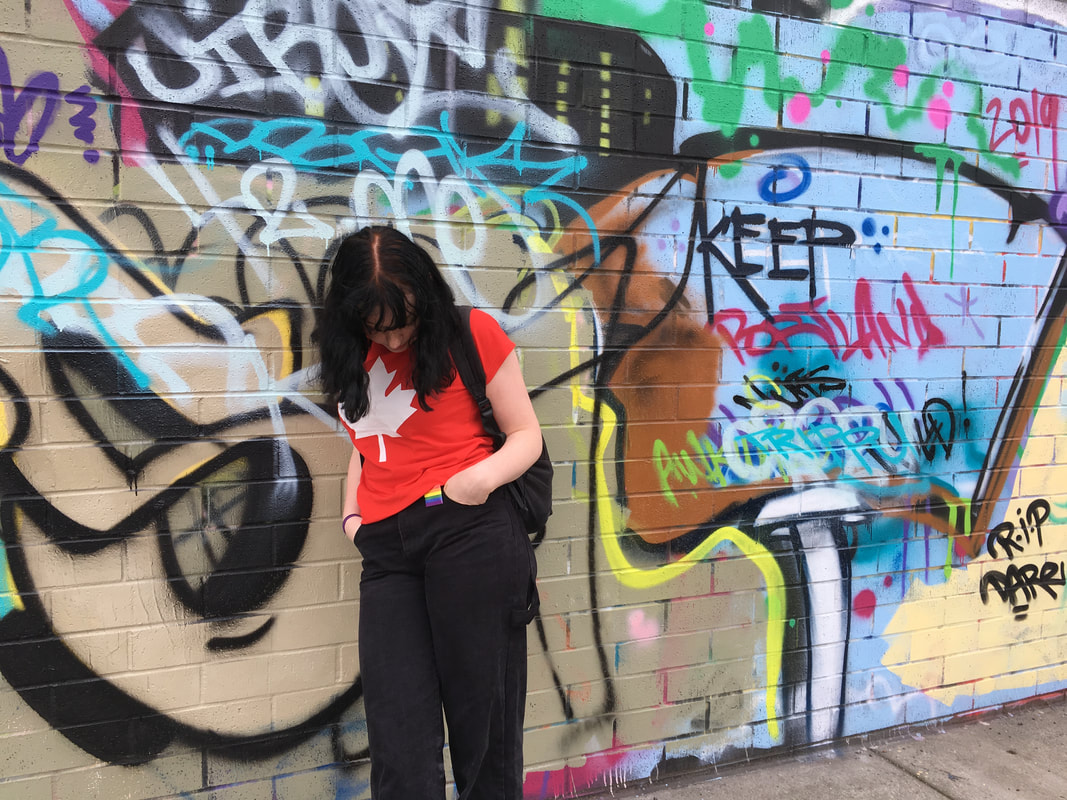
|
AFTER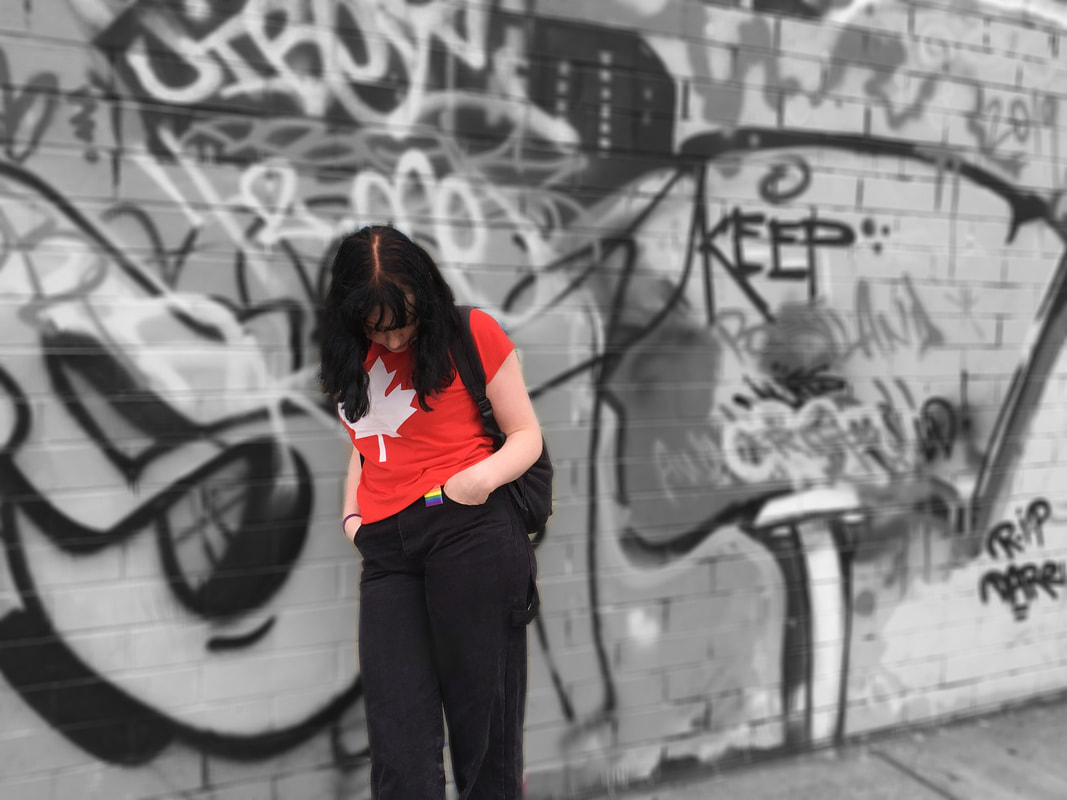
|
This photo I took at the place I volunteer when it was completely empty early in the morning. I took the photo because I felt it expressed an emotion I couldn't quite place, and I decided to take the photo to Lightroom to see if I could bring out that emotion more heavily. In editing this photo, I decreased the temperature, shadows, and highlights. After doing this, I made more adjustments in the contrast, the black clipping, and the white clipping.
BEFORE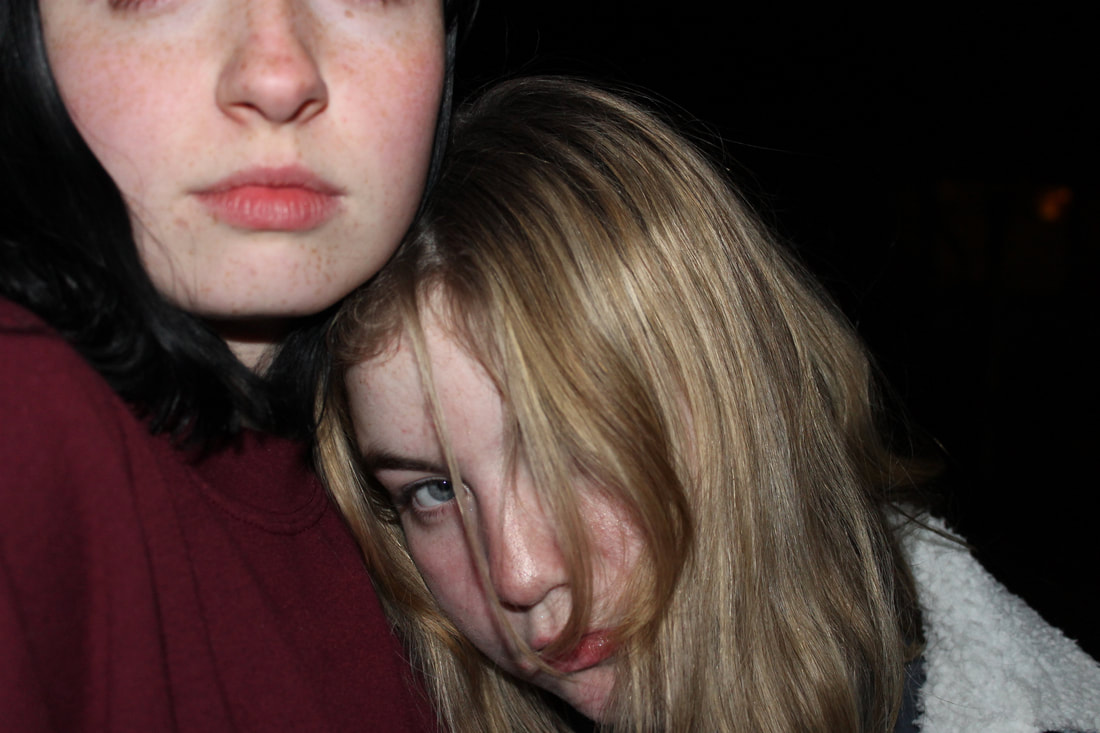
|
AFTER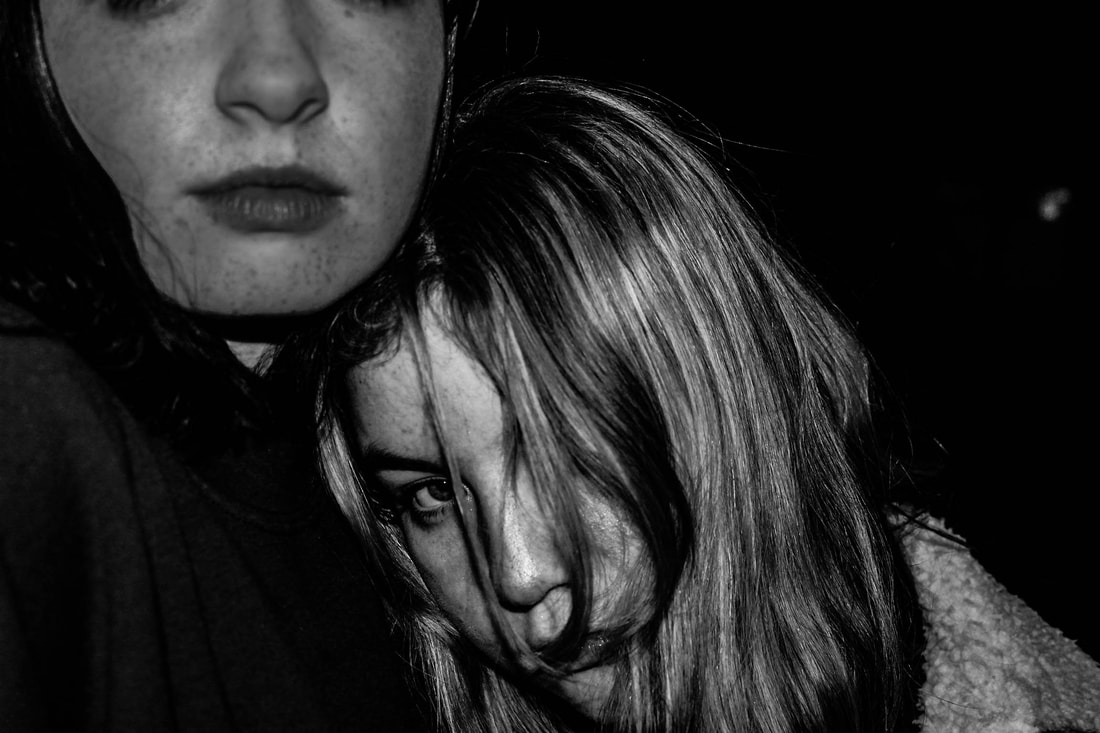
|
This photo I took a while ago of my best friend's Kain and Rena, and I really wanted to increase the intensity of the image. I went to Lightroom for this. First, I made the image black and white. Then increased the clarity and the dehaze amount. After I finished this, I noticed how those acts had both brightened and darkened parts of Rena's face, and I really only wanted the intensity to be on Kain's face. I used the brush stoke tool then decreased the exposure, contrast, and dehaze amount, but increased the clarity to keep some depth in Rena's face.
BEFORE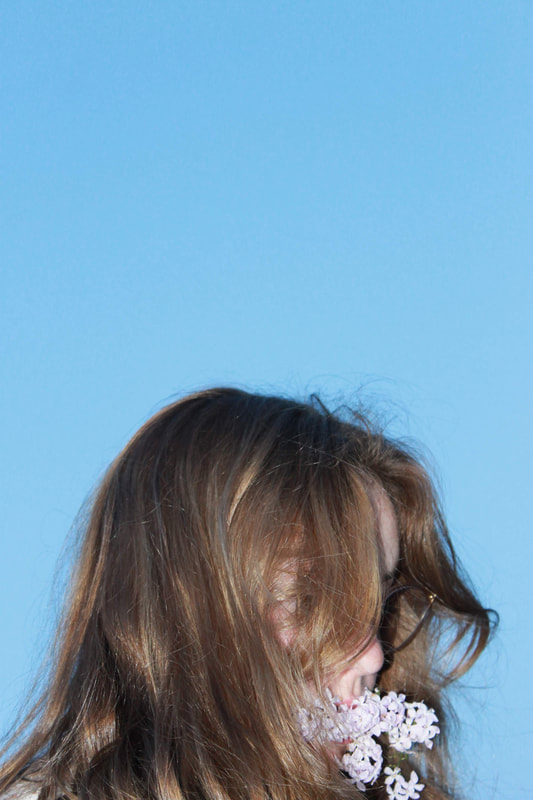
|
AFTER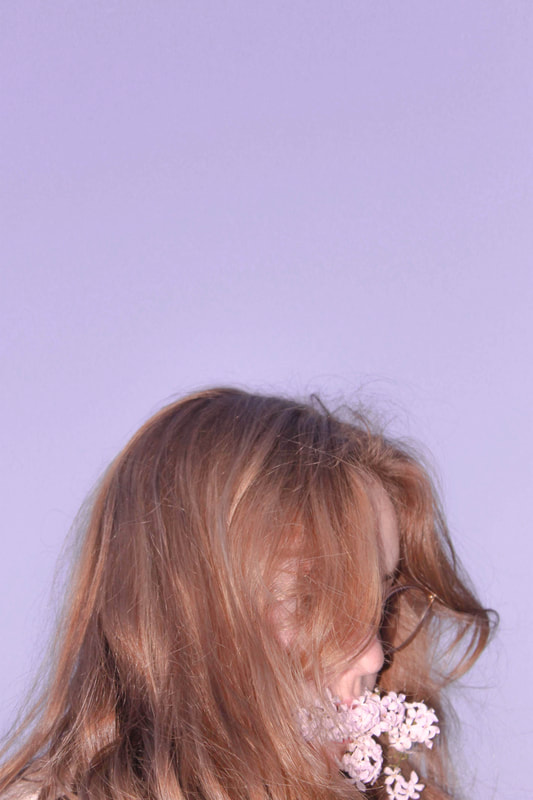
|
With this image, I didn't originally plan to use it for this project but I began playing with it and loved the image I turned out with. I wanted to completely change the background color for this photo, and make it roughly the same color as the flowers. To do this, I increased the temperature, the tint, the highlights, and the black clipping. I also decreased the contrast. I did all of these little adjustments to make the image fit an aesthetic I like, and to make the flash of the original photo less intense. To change the background color, I increased the blue hue shift.
